Art on Tezos
fxhash.xyz/u/markknol objkt.com/profile/markknol versum.xyz teia.art/markknol kalamint.io/user/markknol typed.art 8bidou I’m also the creator of smolskulls.xyzFollow @mknol on Twitter for latest updates
Read moreJust a collection of random works – Mark Knol
fxhash.xyz/u/markknol objkt.com/profile/markknol versum.xyz teia.art/markknol kalamint.io/user/markknol typed.art 8bidou I’m also the creator of smolskulls.xyzFollow @mknol on Twitter for latest updates
Read moreRecently I’ve created a lot of new generative art. I’ve put them on hicetnunc.xyz/markknol
Read moreI have a great passion for playing guitar. I’ve build a online visualization that helped me understanding the guitar fretboard better.
Check it out on: interactive-fretboard.com
Read more I made a tool to write/test easing equation functions. It uses JavaScript syntax to evaluate the expression, which you can just type in. I found it helpful to test curves. I rolled out this one because I didn’t found a similar tool, most were Math or CSS related.
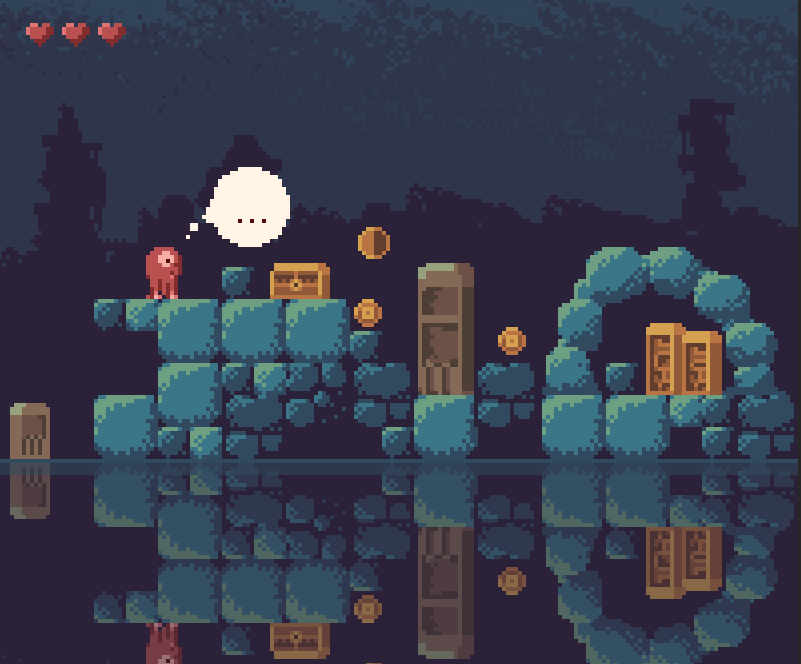
How I created a pixelart scene with gradient mapping to try different moods on the scene. A
sophisticated way to allow quick iterating on different colors.
Generated some logos using emoji and generative art.
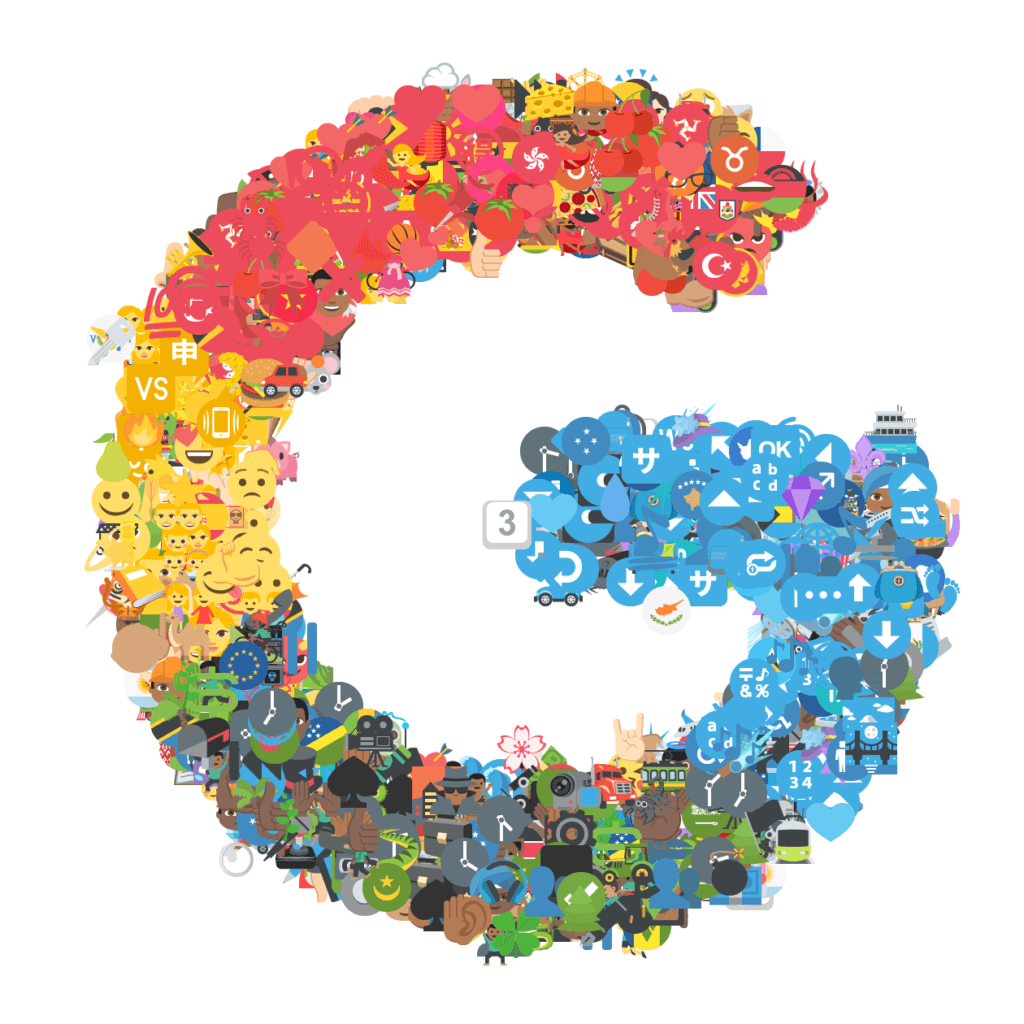
 I did some generative art using HTML5/canvas. It draws a target image using “stamps” out of a different source image. Each drawing step gets compared using a fitness function to see if that stamp looks more to the target or not.