Generative Art – New actionscript renders
Generated with actionscript 3.0. Just experimenting with some new motion.
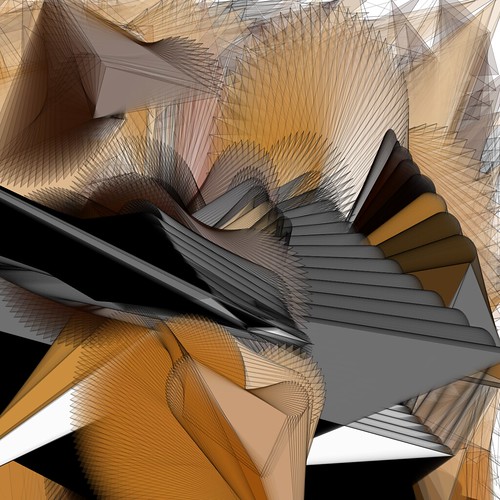

There’s more on my Flickr Account.
Read moreJust a collection of random works – Mark Knol
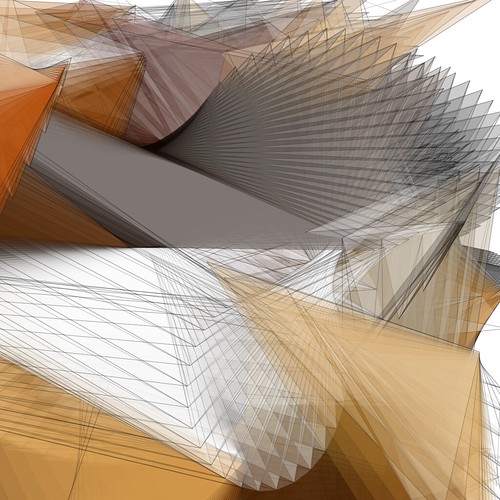
Generated with actionscript 3.0. Just experimenting with some new motion.
There’s more on my Flickr Account.
Read moreLooking for class to save images? Check out ImageSaver.as
I’m experimenting with AIR, because I heard saving a ByteArray ( for example encoded PNG or JPG ) should be quite simple. You don’t need PHP or another serverside script for this, just write directly on you disk. Well, just check it out.
See this example of how to get it work. The image will be save on the same directory as your AIR application.// use adobe’s encoder to create a byteArray
var jpgEncoder:JPGEncoder = new JPGEncoder( 60 );
var byteArray:ByteArray = jpgEncoder.encode( bitmapData );
// set an filename
var filename:String = “cool-image.jpg”;
// get current path
var file:File = File.applicationDirectory.resolvePath( filename );
// get the native path
var wr:File = new File( file.nativePath );
// create filestream
var stream:FileStream = new FileStream();
// open/create the file, set the filemode to write in order to save.
stream.open( wr , FileMode.WRITE);
// write your byteArray into the file.
stream.writeBytes ( byteArray, 0, byteArray.length );
// close the file.
stream.close();
// That’s it.
Is that it? This would be a boring post if I stopped right now 😉
I experimented to create a colorful cool wallpaper using AS3 only and save it using AIR. If you don’t got AIR or just don’t want to use it, I recommend using my ImageSave class.

This is my code to create this wallpaper:
Feel free to play with the code, but post a link to your experiment / wallpaper here.
package
{
import com.adobe.images.*;
import flash.display.*;
import flash.events.*;
import flash.filesystem.*;
import flash.filters.*;
import flash.geom.*;
import flash.text.*;
import flash.utils.*;
import nl.stroep.utils.*;
public class Main extends Sprite
{
public function Main():void
{
var bitmapData:BitmapData = new BitmapData (1280, 1024, false, 0x000000 );
// create colorful radial lines
var shape:Shape = new Shape();
shape.graphics.moveTo ((bitmapData.width/2), (bitmapData.height/2))
for (var i:Number = 0; i < 1900; i++)
{
// create some weird colors using sinus
shape.graphics.lineStyle( 30, (Math.sin( i * 9 ) * i / 200) * 0xffffff, 0.4 );
// do some weird sin/cos moves
shape.graphics.lineTo ((bitmapData.width/2) + (Math.sin( i/3 )*i/2), (bitmapData.height/2) + (Math.cos( i/3 )*i/2) );
}
// add it multiple times using other blendmodes, isn't that what we do all the time in PhotoShop?
bitmapData.draw ( shape, null, null, BlendMode.NORMAL );
bitmapData.draw ( shape, null, null, BlendMode.ADD );
bitmapData.draw ( shape, null, null, BlendMode.MULTIPLY );
bitmapData.draw ( shape, null, null, BlendMode.OVERLAY );
// cool! filters! Add some blur to our lines to make a nice blurry background
bitmapData.applyFilter( bitmapData, bitmapData.rect, new Point() , new BlurFilter( 40, 40, 5 ) );
// create colorful radial lines
var anotherShape:Shape = new Shape();
anotherShape.graphics.moveTo ((bitmapData.width/2), (bitmapData.height/2) );
for (var j:Number = 0; j < 1900; j++)
{
// create some weird lines with weird sizes
var lineWidth:Number = 50 - ((j / 50) >> 0);
var color:Number = (Math.sin( j ) * j / 200) * 0xFFFFFF
anotherShape.graphics.lineStyle( lineWidth, color, 0.2, false, LineScaleMode.NORMAL, CapsStyle.SQUARE, JointStyle.MITER );
anotherShape.graphics.lineTo ((bitmapData.width/2) + (Math.sin( j/3 )*j/2), (bitmapData.height/2) + (Math.cos( j/4 )*j/2) );
}
// cool! filters! Add some blur to our lines to make a little blurry
bitmapData.applyFilter( bitmapData, bitmapData.rect, new Point() , new BlurFilter( 5, 5, 5 ) );
// blendmode ADD is awesome
bitmapData.draw ( anotherShape, null, null, BlendMode.OVERLAY );
// create some text
var textfield:TextField = new TextField ();
textfield.antiAliasType = AntiAliasType.NORMAL;
textfield.htmlText = “FUN WITH BITMAPDATA
CREATE YOUR OWN WALLPAPER WITH FLASH“;
textfield.autoSize = TextFieldAutoSize.LEFT;
// cool! filters! Add blur to your text
textfield.filters = [ new BlurFilter(20,20,3) ]
// draw textfield into bitmapdata, and use a matrix to set its position to center screen
bitmapData.draw ( textfield, new Matrix( 1, 0, 0, 1, (bitmapData.width/2) – (textfield.textWidth/2) ,(bitmapData.height/2) – (textfield.textHeight/2)), null, BlendMode.ADD);
// reset the filters, just add DropShadow
textfield.filters = [ new DropShadowFilter( 0, 45, 0, 0.3, 5, 5, 2, 5 ) ]
// draw textfield again
bitmapData.draw ( textfield, new Matrix( 1, 0, 0, 1, (bitmapData.width/2) – (textfield.textWidth/2) ,(bitmapData.height/2) – (textfield.textHeight/2) ) );
// show the bitmapData, just add it to the stage, using the Bitmap Class
this.addChild ( new Bitmap ( bitmapData ) )
// use adobe’s encoder to create a byteArray
 var jpgEncoder:JPGEncoder = new JPGEncoder( 60 );
 var byteArray:ByteArray = jpgEncoder.encode( bitmapData );
// set an filename
var filename:String = “cool-wallpaper.jpg”;
// get current path
var file:File = File.applicationDirectory.resolvePath( filename );
// get the native path
var wr:File = new File( file.nativePath );
// create filestream
var stream:FileStream = new FileStream();
// open/create the file, set the filemode to write; because we are going to save
stream.open( wr , FileMode.WRITE);
// write your byteArray into the file.
stream.writeBytes ( byteArray, 0, byteArray.length );
// close the file. That’s it.
stream.close();
}
}
}
The ImageSaver Class is updated. (See this blogpost to understand where I’m talking about)
Download
» ImageSaver.zip
» Latest version of ImageSaver on GoogleCode
Fixed:
– You can use a bitmapdata as input too. First you only could use a displayObject, but I believe it’s better to use an IBitmapDrawable (interface).
– Bug quality JPG
– Added optional rect
 My ImageSaver() Class is ready for download.
Download
» ImageSaver v1.0
» Latest version of ImageSaver on GoogleCode
Features
How to use
1. Copy the ‘save-my-image.php’ file to your server or testing environment (I use WAMP for testing)
2. Use ImageSaver like this example.
// Create saver instance + point to php file on server
 var imageSaver:ImageSaver = new ImageSaver( “http://localhost:8080/save-my-image.php” );
// additional: Add eventlisteners.
imageSaver.addEventListener ( Event.COMPLETE, onSaveComplete );
imageSaver.addEventListener ( IOErrorEvent.IO_ERROR, onSaveError );
// Save textfield as JPG with red background
imageSaver.save ( myTextField, “myfilename1.jpg”, 0xFFFF0000 );
// Save bitmap as JPG with red background in low JPG quality (15)
imageSaver.save ( myBitmap, “myfilename2.jpg”, 0xFFFF0000, 15 );
// Save a shape as transparent PNG
imageSaver.save ( myShape, “myfilename3.png” );
// Save a movieclip as half-transparent (red) PNG
imageSaver.save ( myMovieClip, “myfilename4.png”, 0xCCFF0000 );
// handle events
private function onSaveError( e:IOErrorEvent ):void {
trace ( “Image save failed. Error while saving: ” + e.text );
}
private function onSaveComplete( e:Event ):void {
trace ( “Image save completed” );
}The save-function works like this:
public function save( displayobject:DisplayObject, filename:String, backgroundColor:Number = 0x00FFFFFF, JPGquality:int = 85 ):void
I love to hear your suggestions. Feel free to use it too.
— Flex
With Flex you can create applications. So, why not start creating a very simple application, like a calculator?
How does a calculator work, in my opinion? Simple: it just evaluates a string. But how can we evaluate a simple string like “1+1″ in AS3? I think we can’t, because eval() isn’t supported in actionscript 3. So I search on google, and found some solutions for it. But nothing really satisfied me. I don’t want to use PHP or another serverside script for evaluating strings, do you? So why not using a client side script, like javascript?
I want to share how I did this to you, and also the process of creating a calculator.
Setup a new project
I use FlashDevelop for Flex applications. Create a new project ( Menu > Project > Flex 3 project). Open the main.mxml file in the src-folder. Make shure it is set to ‘always compile’ (the green icon). Let’s add some data:
What did we just created? Check out the code and press ctrl-enter to run the application. We have a container panel, an input field and an output field. Press the button and the text from the input will be shown in the output textfield. Great, isn’t it?
To be real; if you never ever used Flex, this ÍS great. How much time did we spend to create a simple interface like this? We just used 5 tags, and it already is an application.

Create a html document
We need html, because we need to communicate between the swf and javascript.
[html]
[/html]No, nothing special, just another html file. It’s better to use swfObject for embedding flashfiles, but that’s not what this tutorial is about. Save the html document in the same directory as the .swf file (in my case: in the bin folder)
Let’s calculate
We need our flex application to calculate! Let’s add some script (actionscript) to the application. Put this somewhere between the mx:Application tag:
 private function eval( str:String ):String
 {
 return ExternalInterface.call ( “eval”, str );
 };
Alright, let’s edit the calculate-button like this:
Now we have a very simple calculator.
Let’s make it better. We don’t need two textfields (input / output), but we need one uneditable field. I choose to use a mx:Label, please don’t ask me why. We also need buttons, just like the windows calculator. The button need to add text to our label-field. For that, let’s add a new AS3-function to the mx:Script tag:private function addText( str:String ):voidThis is straight forward. When we call the function, the input field adds text that is passed by the function. I used a function for this, because we are going to use it more than 1 time. You could use this inline in the buttons, but we need a lot of buttons. Maybe later we would edit this, so then we only have to edit the function, instead of copy/paste this multiple times.
{
input.text += str;
}
Make a button to test it. Add somewhere a button like this:
Now, let’s add the other buttons. I used a mx:Panel with an absolute layout, so we can use x and y positions. I changed the layout a bit, and created something this: (this also is the the full code)
private function eval( str:String ):String
{
if ( ExternalInterface.available )
{
return ExternalInterface.call ( “eval”, str );
}
else
{
return “Unavailable”
}
}
private function addText( str:String ):void
 {
 input.text += str;
 }
What are you waiting for? Run the application 😀

Well, that looks different! Take a look at the code. We have created buttons like 0-9, and some math signs. This buttons don’t calculate, they just add text. We have changed the ‘calculate’-button’ to an ‘=’ sign, and we have a clear button.
I think this is a start of using Flex and building a calculator. I’m learning Flex too, so correct me if i’m doing something wrong.
Read moreMy first post 😀 Just testing the syntax highlighting too. It works perfect!
This is how I create a grayscale color in actionscript 3.
grayscale ( 140 );
The function:
/*
 * Get a grayscale color from a tint
 *
 * @param tint Enter tint from range 0 to 255
 * @return Gray hexadecimal colorvalue
 * @tiptext
 */
 public static function grayscale ( tint:uint = 0 ):uint
 {
 // restriction
 if (tint < 0) { tint = 0 }
 if (tint > 255) { tint = 255 }
 // return calculation of color
 return (tint << 16) | (tint << 8) | tint;
 }
Feel free to add comment
Read more— Other
Welcome to WordPress. This is your first post. Edit or delete it, then start blogging!
Read more